An Invidia Q300 catback exhaust costs upwards of $1,000. Also known as money that I do not have. So, I decided that I would take the necessary steps to unleash the boxer rumble. I decided to weld my own axle back exhaust. I researched a bunch of ways to do it online and decided to follow one example. There wasn’t really a tutorial but I saw how it looked so I decided to mimic it. My friend Cole picked up some scrap exhaust pipe when he was in Nebraska so this build wouldn’t cost a small fortune. Day 1 The first order of business was to build our own jack stands. Now let me stop you there, I know building jack stands instead of buying them is a sketchy idea but these aren’t really jack stands. What we did was cut several 2×4 pieces of wood and stuck them together to form a 16″x12″ block of wood. I don’t know what they’re called so I refer to them as jack stands. 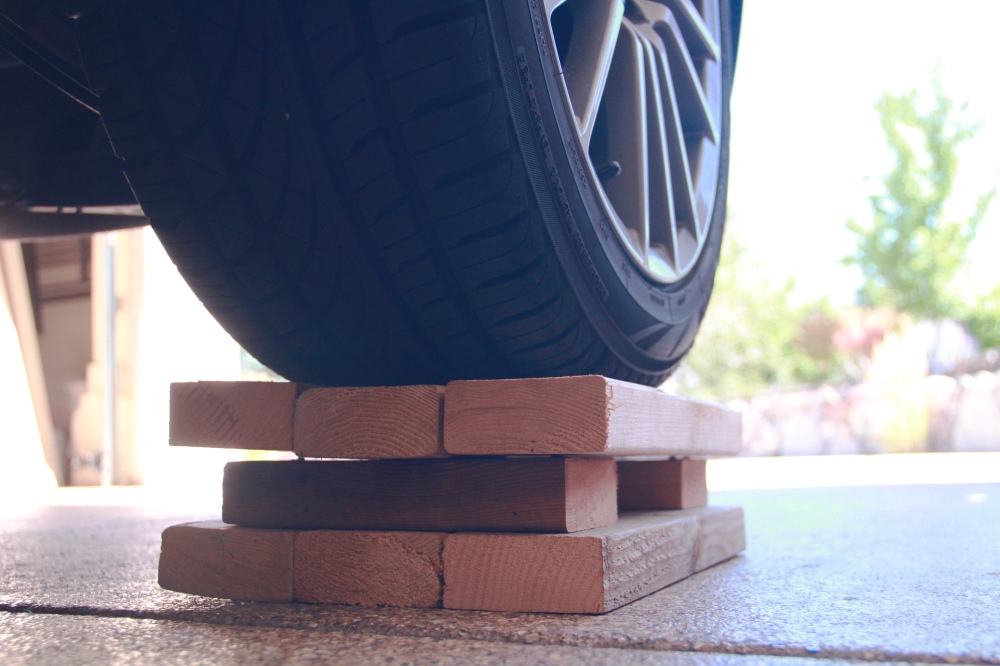 We now have our jack stands so we head over to jack up the car with the hydraulic jack that I have. My dad bought it so he didn’t have to use the crappy jack that came with the car when he changed his tires each season. We soon found out that it wasn’t quite tall enough for us to slide the blocks under so we had to improvise with some levelers we use for our RV. But we used our heads and some scrap wood and got that thing high enough to get onto our brand new, state of the art jack stands.
  With the car looking good on our wooden blocks, we started pulling off the muffler. The two bolts, which took us 3 tries to find the right wrench, were as tight as possible. We struggled for a few seconds to loosen it but resorted to a little physics and found a solid pvc pipe to give us some leverage.
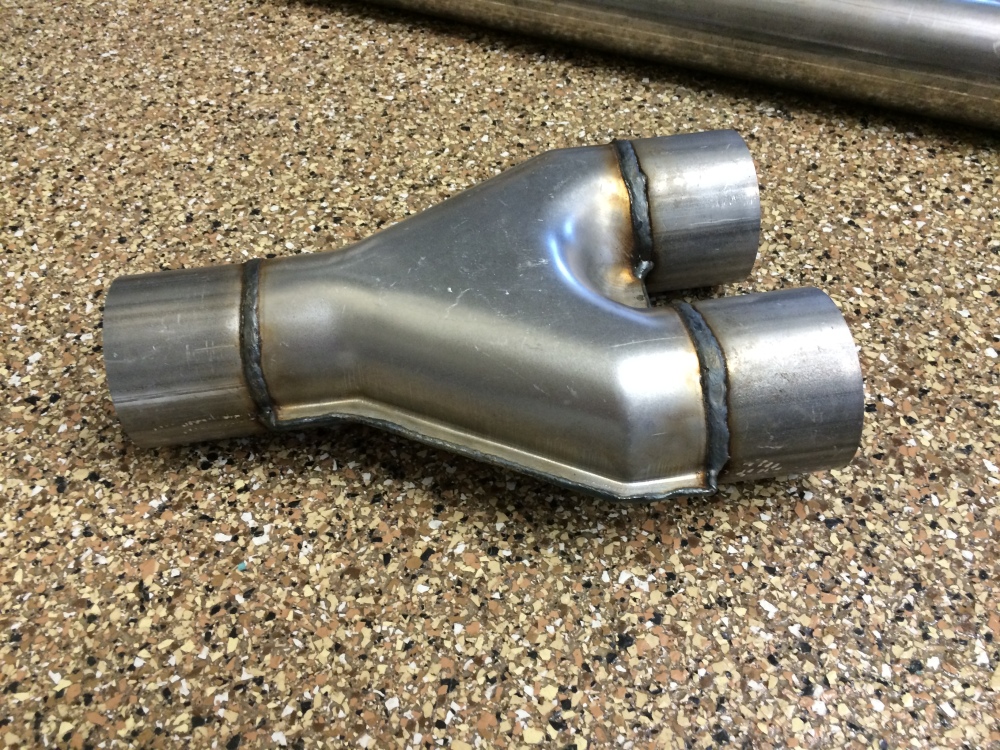
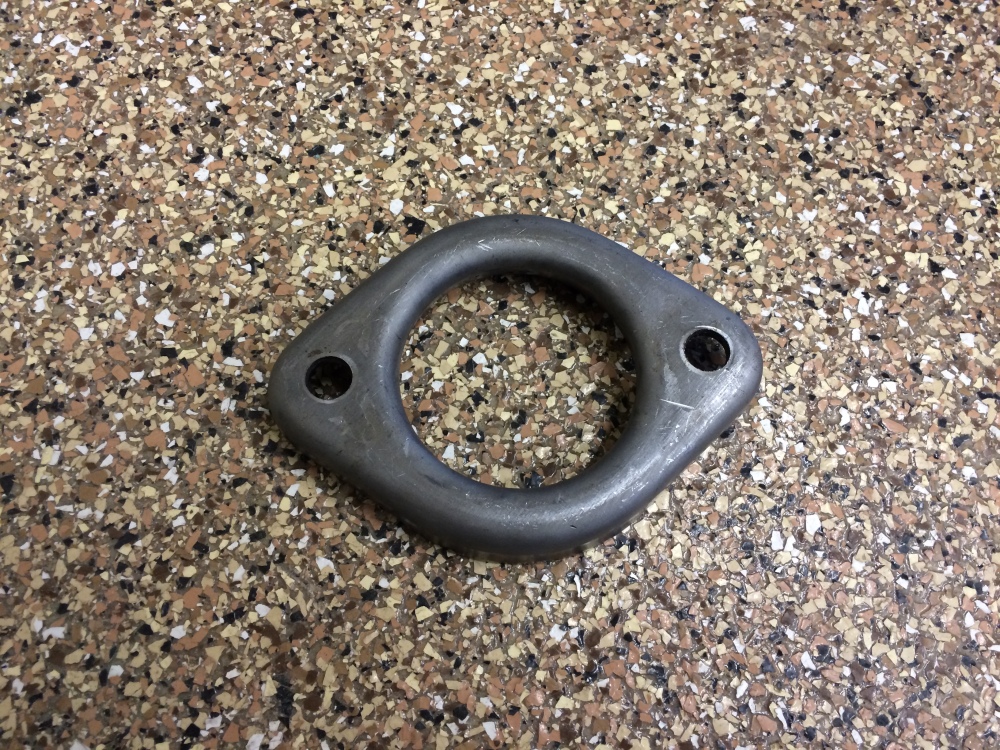
 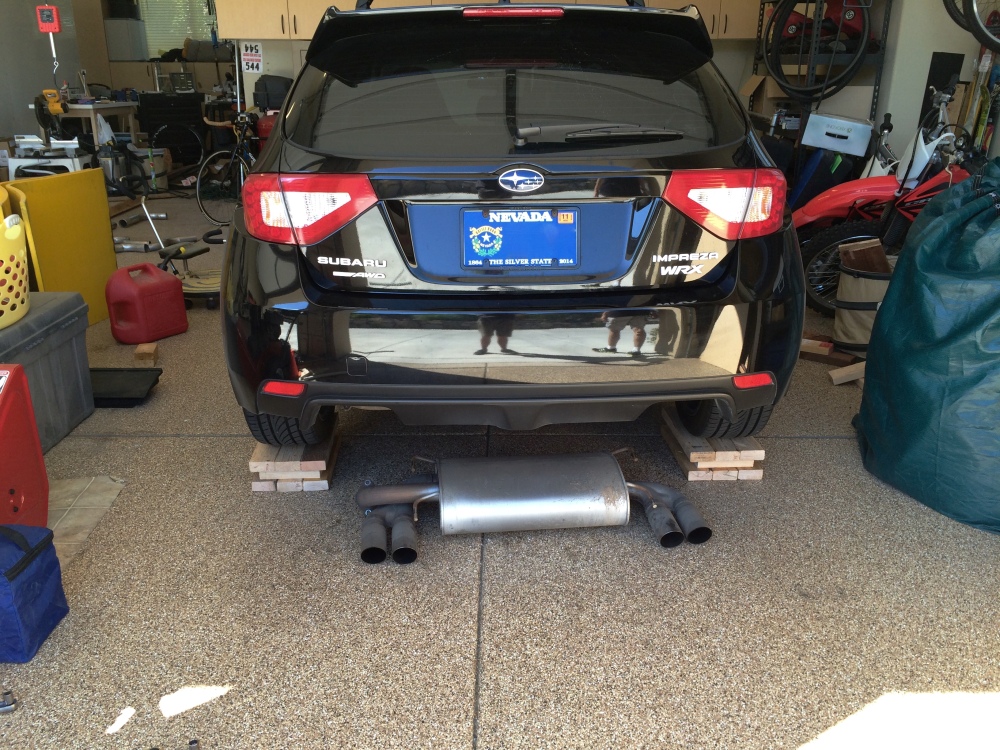 With the muffler off, we couldn’t help but to start it up and man was it amazing. The untainted sound of the boxer engine was fantastic. I was smiling from ear to ear and I was eager to get started so I could drive it around. https://www.youtube.com/watch?v=so3_XHQ7xuo&feature=youtu.be We took some measurements and planned out how we were going to go about welding it together with the materials we had. After our assessment, we took a drive in my dads Audi to Summit racing to pick up a y-pipe and 2.5″ flange.
 Day 2 I got home from rock climbing and we got straight to work. We took a few practice welds and soon found out Cole was the superior welder. We cut our first piece and started to weld the actual exhaust.
 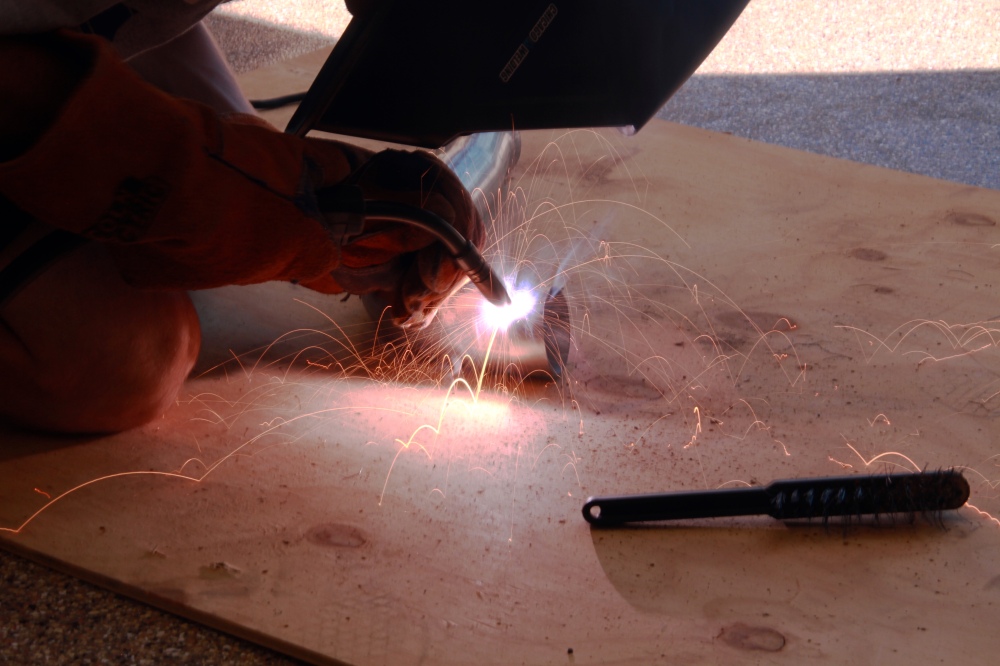 The first tricky weld came when we welded the flange to the pipe. There was a small gap all the way around. We tack welded it and then Cole went to work combining the pieces of metal into one. It turned out better than both of us thought it would have considering our complete lack of experience.
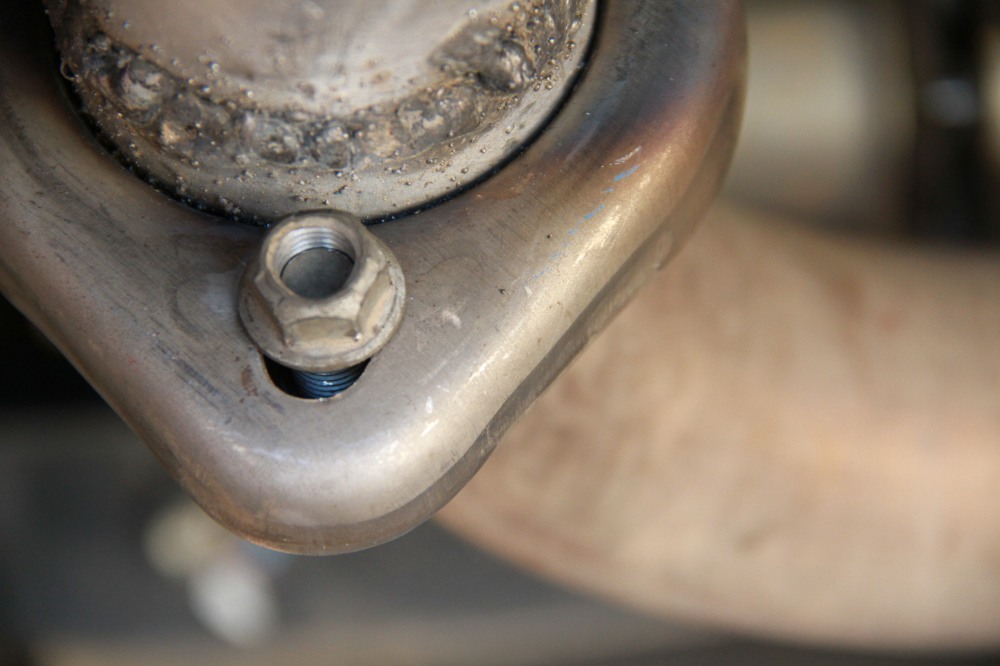
 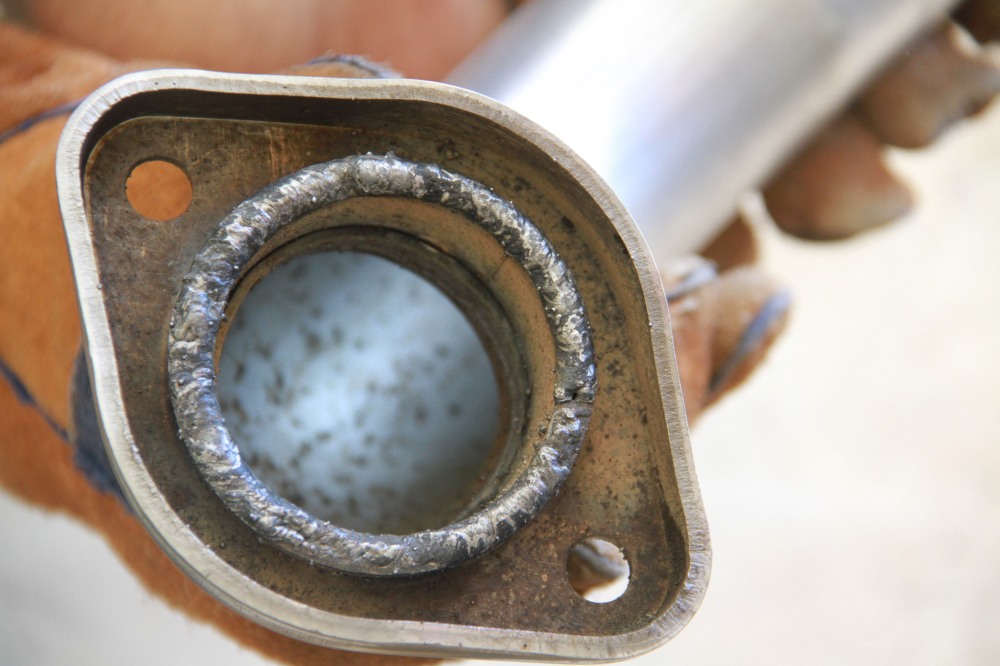 We then went to bolt this to the car to figure out spacing and pipe lengths but were soon setback by a difference in bolt spacing. I know I should have gotten the correct size flange but I’m pretty sure this was the only 2.5″ flange summit had in stock. So, we started to drill our own hole. We soon ran into some trouble making it large enough and resorted to sticking a round file into the drill and slowly grinding away excess metal. I am happy to say that our stupid idea had just about worked out.
  With that minor setback behind us, we continued to weld on more and more pipe. Starting with the y pipe, we had to make sure we had the correct angle for both sides of the exhaust to work.
 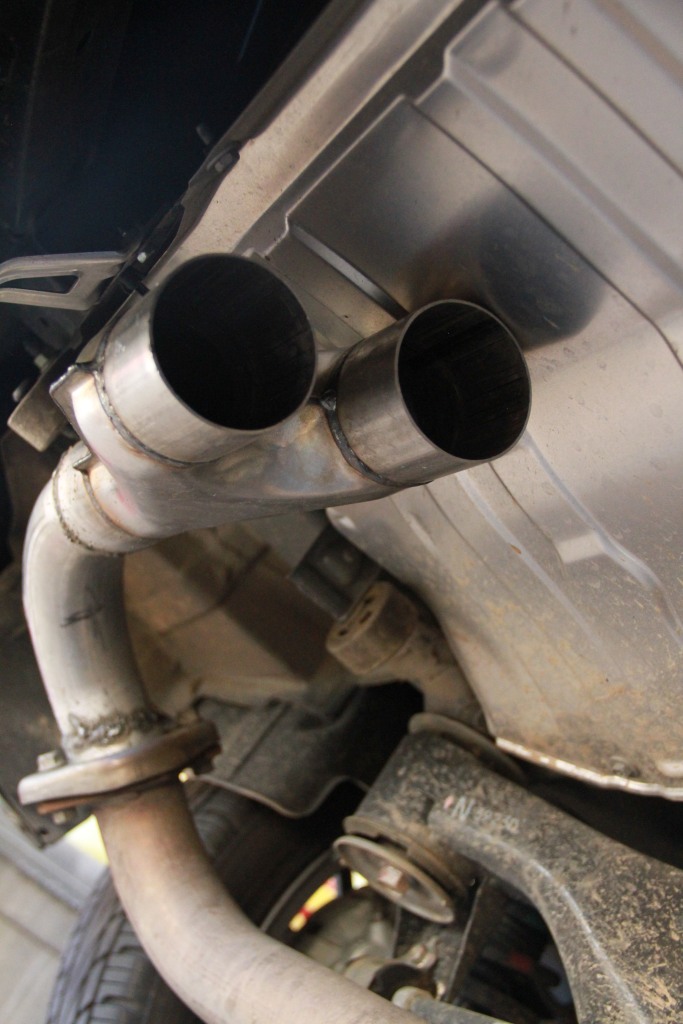 I cut an S shaped pipe in half to re weld into a U-pipe.
 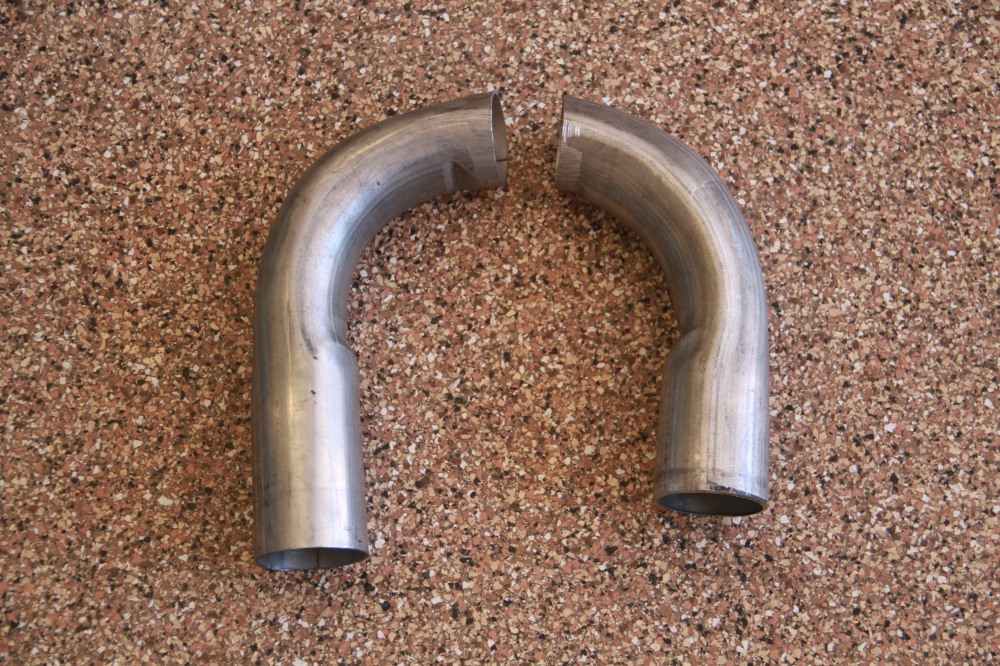 While Cole was busy gluing exhaust components together with hot metal, I was struggling to cut everything to the right length. I used a reciprocating saw to cut the metal and then filed it down so it wouldn’t have little pieces of metal capable of cutting our hands. Now let me say this, that job is not easy whatsoever. Some of the pipe was bent into unrecognizable shapes. Nothing close to circular. I spent quite a while bending the pipe in the vice and smoothing out flat edges so it would take on a more circular shape. I guess that’s what you get when you ask for free exhaust piping. After several pieces of cut metal and several welds, we finally had a slightly more finished axle back exhaust. For our first time welding exhaust pipe, I think it turned out pretty good.
 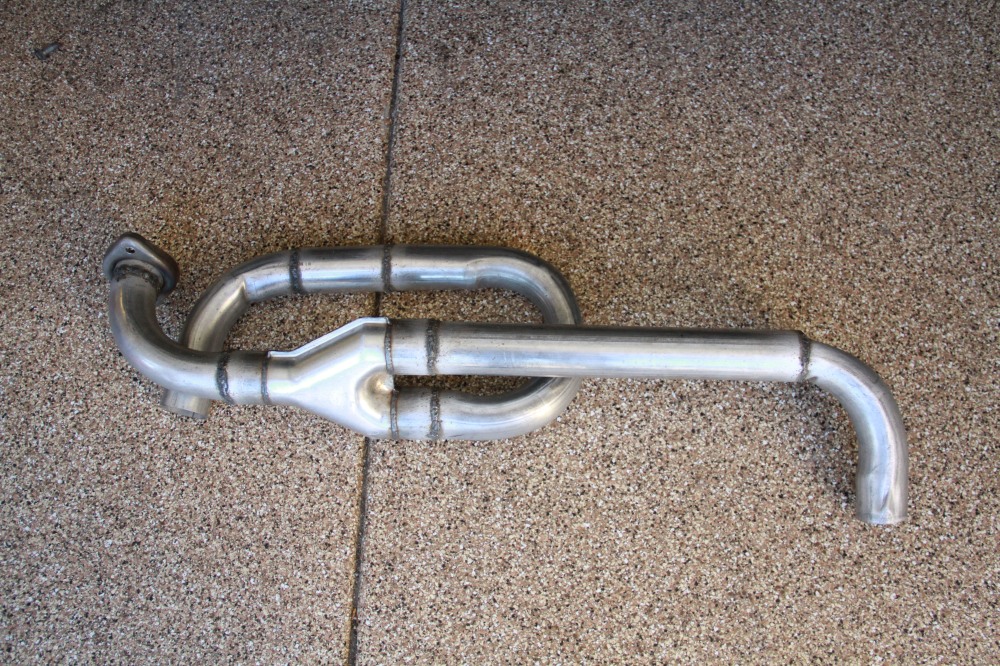 It didn’t have any exhaust tips on it but we were eager to slap it on and start it up. Our next setback is probably the most embarrassing. We were both under the car, holding up the freshly welded pipe, but I was unable to line up the bolts. After several tries we decided to switch positions. I laid down in the middle and held up the whole exhaust while Cole accurately placed each bolt. After a while we got it on, only to realize the right side of the exhaust was a little bit too high and didn’t quite fit under the bumper. We cut some rebar to make a hangar although it was the opposite of a hangar. It was meant to push the exhaust downward so it wouldn’t burn the bumper. As of this writing, it is currently functional but not what anyone would call aesthetic. One side is too high, the other is too low, and both are too far under the car and look like bare metal. https://youtu.be/QDvO1Jh2m0o Update: I won’t be welding on tips. Muffler deletes are technically illegal in Nevada so I will only be running this exhaust for a couple days before putting the stock one back on. Its disappointing but I would rather not get a ticket. It was a fun project and we learned a lot along the way. Huge thank you to Cole for doing most of the welding. This piece of metal will make a cool decorative piece once I have my own apartment or something.
- Comment
- Reblog
-
Subscribe
Subscribed
Already have a WordPress.com account? Log in now.