As you may have seen from my About an Author post, I have my own 3D printer. While it isn’t the most accurate or precise machine, my EKOCYCLE Cube 3D Printer (made by Cubify and 3DSystems) is perfect for my needs. However, not only do I want to print things myself, I want to be able to show other people what the technology can do. I decided to take the time lapse photography route, and getting to the point I am today was not as smooth as some might think.
From the beginning, I knew I wanted to be able to share my prints in a video format. The mounting of the camera basically went through four design iterations. When I first looked at the printer, I figured I’d need some kind of curved bracket to get the camera in the right angle. At the time, I didn’t feel I was experienced enough to design this bracket, so my first time lapse videos we created by taping a camera to the body of the printer.
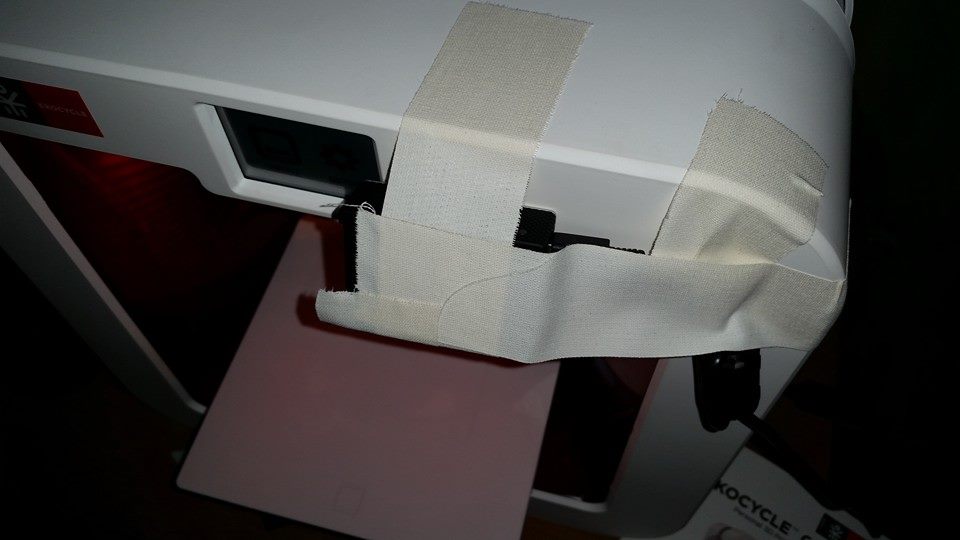
Having to remove the camera to download all the footage to my computer became a hassle, and not being able to get the same angle for all of my prints made my videos look a bit unprofessional. I eyeballed everything with this mount, including framing and camera levelness. A redesign was in order. This time, I used a tripod to ensure the camera would remain stable and level. Unfortunately, due to the location of the printer, I had to prop boxes under the tripod. This eventually led to more unstable footage and really negated the effectiveness of the tripod system.
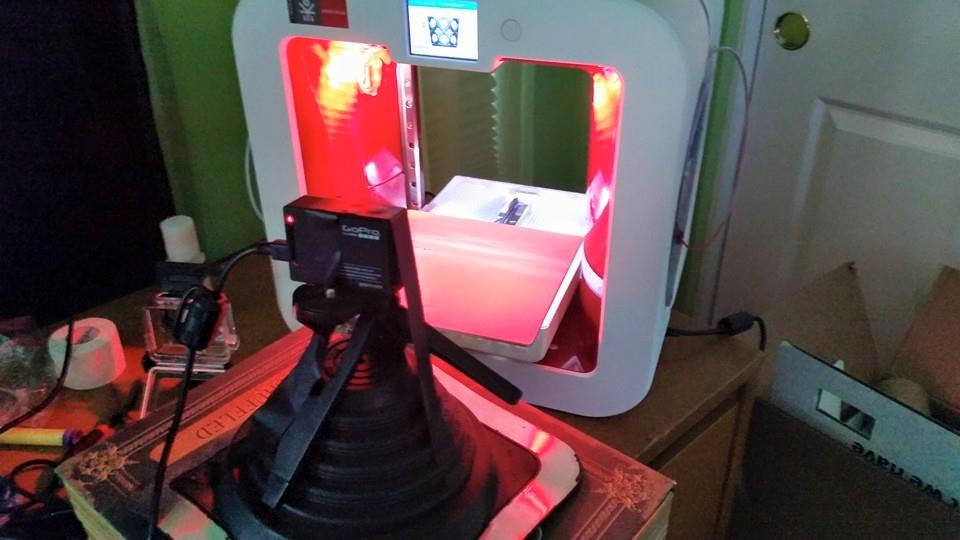
Despite the visual uneasiness of the design, this was still better than the original tape-mount (though a significant amount of tape was still used here). At this point, I decided it was finally time to design a real mounting system for my camera. The top of the printer is extremely smooth and flat, so that was where I would stick the attachment mount. After playing around with different angles and elevations of the camera, I settled on a placement that would not only give a perfect view of the build area and the LCD screen on the printer, but also was simple to design.
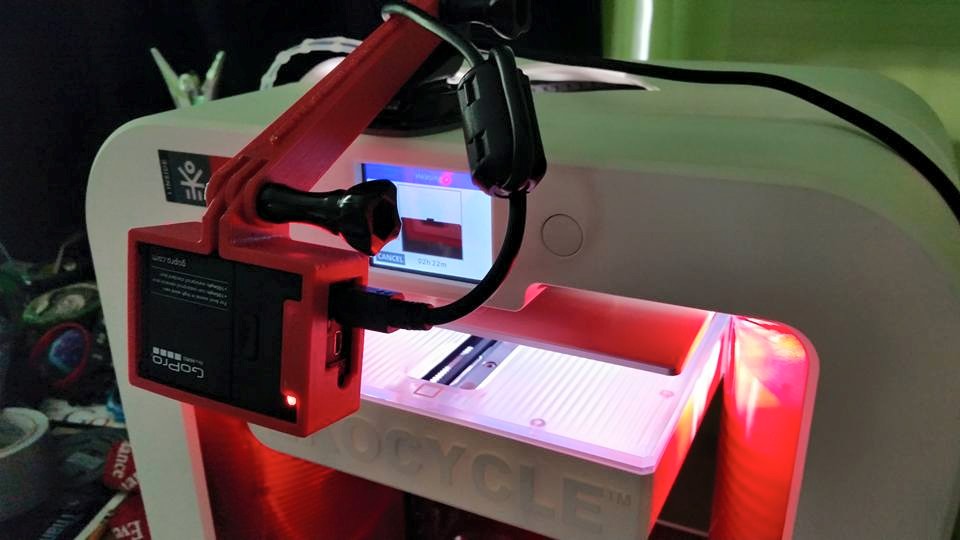
The design we easy, requiring only a few extrusions and an loft to get from one size to another on each end. I downloaded a file for the camera frame (created by Xirux and found here). With this mount, I am able to get perfectly stable, perfectly level footage every time with the same camera angle.
I am extremely happy with how my mount turned out, and also how my videos look. Below is a video taken with the aforementioned attachment system of a graduation cap I printed for grad parties!
Hopefully you enjoyed this write-up. If you have any suggestions for future posts or better ideas for mounting my camera, let me know below!
